Introduction: Unlocking Your Creativity with Canva
Table of Contents
In today’s digital world, a powerful visual can stop a user mid-scroll and command their attention. The challenge for many creators, marketers, and business owners is figuring out how to produce a steady stream of high-quality content without a design background. The good news is, you don’t need to be a professional designer to create beautiful visuals. The secret weapon for millions is learning how to design stunning social media graphics with Canva.
Canva is a revolutionary platform that has democratized design. This guide is your complete roadmap. We’ll walk you through the entire process, from setting up your workspace to mastering the tools, so you can confidently design stunning social media graphics with Canva that not only look amazing but also help you achieve your social media goals.

1. Why Canva is the Ultimate Tool for Social Media Design
Before we dive into the creative process, let’s establish why Canva is the perfect choice for this task. While many professional tools exist, Canva is uniquely positioned for social media success.
- Intuitive for Beginners: The platform’s famous drag-and-drop interface means you can start creating immediately. You don’t need to spend weeks learning complex software; you can design stunning social media graphics with Canva within minutes of signing up.
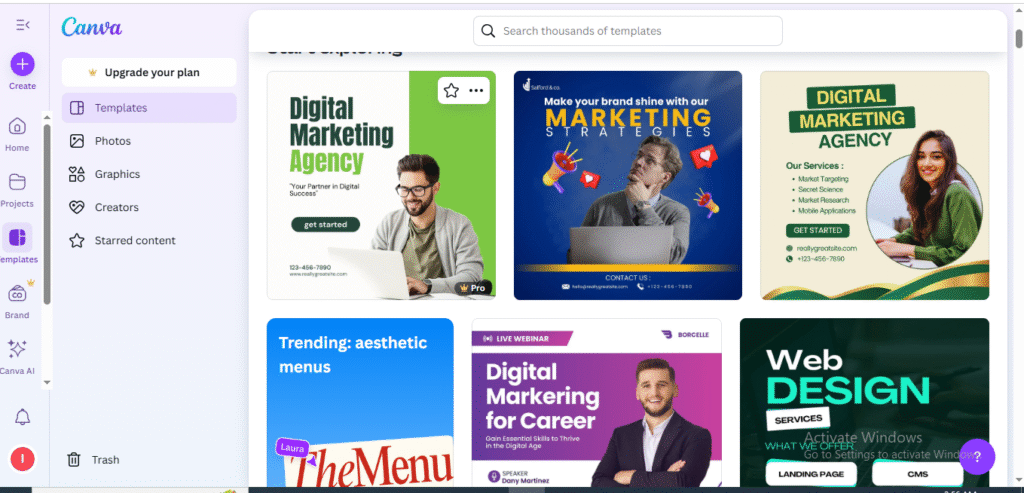
- A Universe of Templates: Canva’s biggest advantage is its vast library of templates. These professionally designed layouts are already perfectly sized for every social media platform, giving you a massive head start on your creative projects.
- All-in-One Asset Library: Forget searching multiple sites for stock photos or icons. Canva provides millions of photos, illustrations, fonts, and other elements right inside the editor, streamlining your workflow.
2. Your First Steps: Setting Up Your Canva Workspace
A little preparation goes a long way. Before you start to design stunning social media graphics with Canva, take a few moments to set up your account for efficiency.
- Sign Up for an Account: Visit Canva.com and create your free account. The free version is incredibly robust and perfect for getting started.
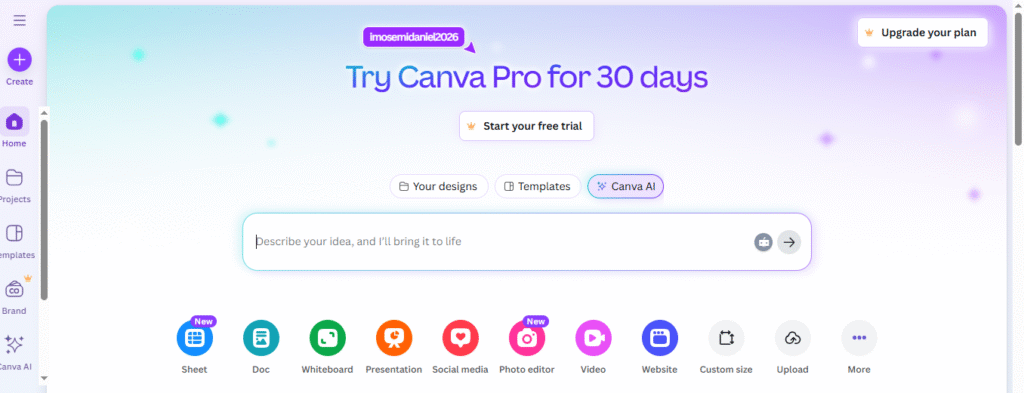
- Use the “Create a Design” Button: On your dashboard, click the “Create a design” button. This is crucial because it allows you to select preset dimensions (e.g., “Instagram Post,” “Facebook Cover”) to ensure your final graphic is perfectly optimized for the platform.
- Find Your Brand Colors: Even with a free account, you can add your brand’s specific color hex codes to the color picker. This makes it easy to maintain brand consistency every time you design stunning social media graphics with Canva.
3. The 5-Step Guide to Designing Your First Graphic
Ready to create? Follow this simple five-step process to go from a blank slate to a finished masterpiece.
Step 1: Choose a Powerful Template
Starting with a template is the fastest way to a professional result.
- Search with Intent: In the template library, search for your specific need. Try searching for a platform (“LinkedIn post”), a theme (“holiday sale”), or an aesthetic (“minimalist quote”).
- Focus on Layout: When browsing, pay more attention to the structure and balance of the template than the specific colors or photos, as those are easy to change. A good layout is the foundation of a great design.
Step 2: Customize and Brand Your Template
This is where you make the design uniquely yours.
- Change Colors and Photos: Click on any element to change its color from the top toolbar. To replace a photo, simply drag your own image from the “Uploads” tab or a stock photo from the “Photos” tab directly onto the existing one. It will snap perfectly into place.
- Incorporate Your Logo: Upload your logo and place it strategically on your design. Consistent logo placement is key for brand recognition when you design graphics with Canva.

Step 3: Master Your Typography
The text on your graphic is your core message. Make it count.
- Create a Hierarchy: Use a large, bold font for your main headline to grab attention. Use a smaller, simpler font for supporting details. This guides the viewer’s eye through the information.
- Prioritize Readability: A fancy font might look nice, but if it’s hard to read on a small phone screen, it’s not effective. Canva suggests font pairings in the “Text” tab that are proven to work well together.
Step 4: Enhance with Visual Elements
This step adds the polish that makes your graphic stand out.
- Explore the “Elements” Tab: This is your creative playground. Find icons to represent ideas, shapes to frame text, or animated “stickers” to add a touch of motion for social media stories.
- Use Frames and Grids: Want to put a photo inside a circle or a brush stroke? Use a “Frame.” Want to create a beautiful photo collage? Use a “Grid.” These tools make complex layouts simple when you design graphics with Canva.
Step 5: Download and Share Your Creation
You’re done! It’s time to share your work.
- Click “Share” > “Download”: In the top-right corner, open the download menu.
- Select the Best File Format:
- PNG: Best for graphics with text and icons. It offers the highest quality.
- JPG: Best for photographic images. It provides a smaller file size.
- MP4/GIF: Choose these if your design contains any animation or video.
Conclusion: You Are Now a Canva Designer
The ability to create compelling visuals is one of the most valuable skills in the digital age. By following this guide, you now have the knowledge and the framework to confidently design stunning social media graphics with Canva. You understand the process, from choosing a template to mastering the details of typography and color.
The journey to becoming proficient is all about practice. So, open Canva, get creative, and start transforming your social media presence today.
And when you’re ready to explore even more creative software, be sure to check out this fantastic guide on the Top 10 Graphic Design Tools for Beginners in 2025.


